The Teton Restoration Process
Every log home restoration follows a sequence. The difference between a finish that lasts three years and one that lasts seven comes down to execution at each step and materials matched to Jackson Hole's conditions.
Our Six-Phase Approach
Phase 1: Assessment & Documentation
Before we touch a tool, we walk your property with you. We're looking for:
- Finish condition. Where is the stain failing? Which elevations show UV damage?
- Chinking integrity. Are there gaps, cracks, or separation from the logs?
- Moisture indicators. Dark spots, softness, fungal growth, or checking patterns
- Structural concerns. Settling, twisting, or insect activity
- Access challenges. Steep terrain, remote locations, special equipment needs
We photograph everything. You get a written report with our findings, recommendations, and a detailed scope of work with fixed pricing.
Phase 2: Protection & Prep
Your property matters. Before blasting or staining begins:
- Windows and doors are masked and protected
- Landscaping is covered or shielded
- Adjacent structures (decks, patios, hot tubs) are isolated
- Water sources and drainage are planned
This phase also includes scheduling around Jackson Hole's weather patterns. We don't stain when rain is forecast within 48 hours. We don't blast when winds would carry media into your neighbor's ranch.
Phase 3: Media Blasting
Using corn cob, recycled glass, or soda media (chosen based on your log condition and finish type), we remove:
- Failed and weathered existing stain
- The gray, oxidized surface layer of wood
- Mold, mildew, and surface contaminants
- Old caulk and failed patching materials
The result is clean, fresh wood, ready to accept new finish. Unlike chemical stripping, media blasting leaves no residue that could interfere with stain adhesion.
Phase 4: Chinking & Repair
With the surface clean, we address the gaps between logs:
- Removal. Failed chinking is cut out completely
- Prep. Log surfaces are cleaned and primed for adhesion
- Backer rod. Foam backer rod is installed at proper depth for flexibility
- Application. Premium synthetic chinking is tooled in for a finished look
- Detailing. Corners, joints, and complex areas are hand-finished
Log repairs happen here too. Rot is removed, structural issues addressed, and matching timbers spliced in where needed.
Phase 5: Staining & Sealing
Protection against Jackson Hole's elements:
Day 1: Conditioning & First Coat
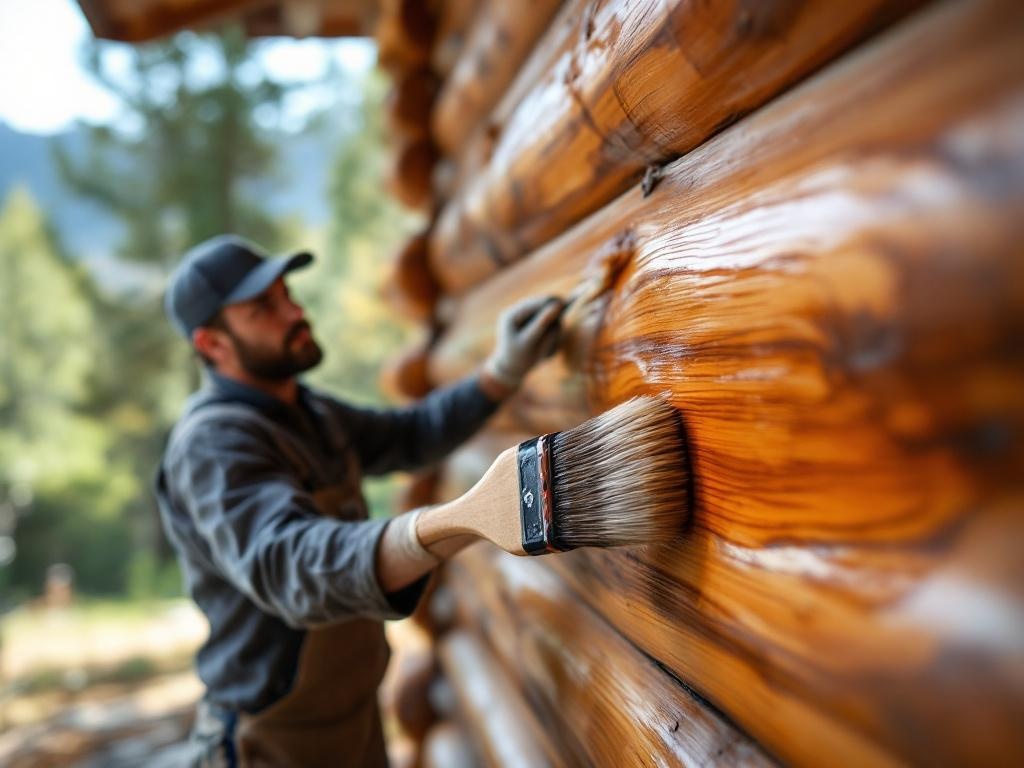
Wood is conditioned to ensure even absorption. The first coat of high-elevation stain is applied by brush, working deep into checks and grain patterns.
Day 2-3: Second Coat & Back-Brushing
After proper cure time, the second coat is applied and back-brushed. This technique ensures complete coverage, builds proper mill thickness, and forces stain into every surface irregularity.
Day 4: Touch-up & Detail
We inspect every log, address any thin spots, detail around windows and doors, and ensure consistent color and sheen across all elevations.
Phase 6: Final Inspection & Handoff
You walk the property with us. We explain what was done, show you before/after photos, and discuss:
- Maintenance schedule. When to inspect, what to watch for
- Touch-up procedures. How to handle minor checks and scratches
- Warranty coverage. What's covered and for how long
- Future planning. Timeline for next full restoration
You receive a binder with photos, product specifications, care instructions, and our contact information for any follow-up needs.
Timeline Expectations
Small cabin (1,000–2,000 sq ft): 7–10 days
Average home (2,500–4,000 sq ft): 2–3 weeks
Large estate (5,000+ sq ft): 4–6 weeks
Weather, accessibility, and repair complexity can affect these timelines. We communicate daily progress and any schedule adjustments.